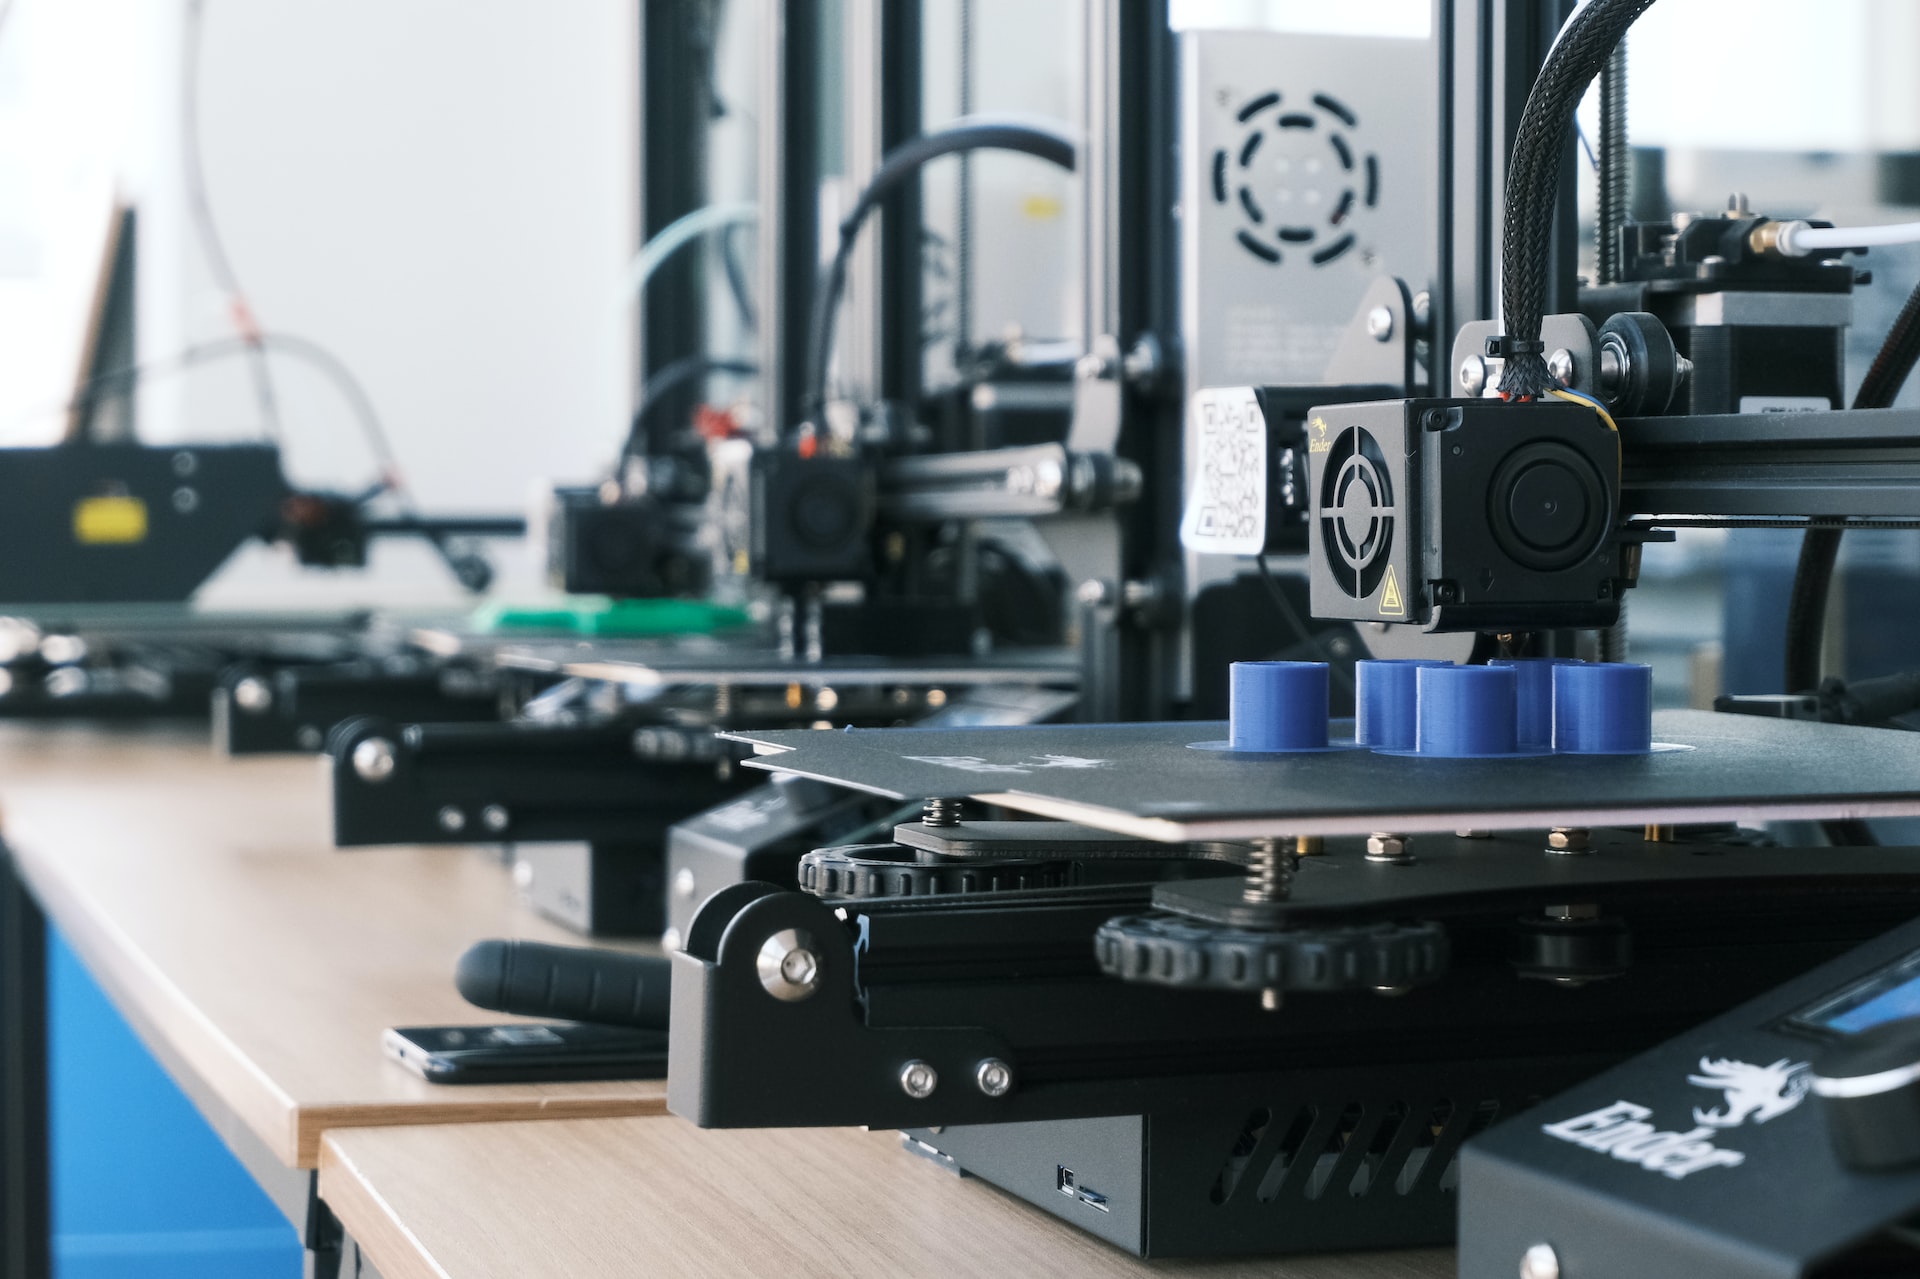
The Creality Ender 3 stock firmware lacks thermal runaway protection and thus is unsafe. Many people have done this before, but this post shows the steps that worked for me. There are good open-source firmware options such as Marlin. This tutorial was great at showing how to upload the firmware and should be consulted.
I will place the general steps outlined in the tutorial below and what I did differently.
Add the bootloader
The bootloader is the first piece of code run when a processor starts. By updating the bootloader the Ender 3 the firmware can be uploaded over USB. A bootloader is technically not necessary, but it makes changing the firmware much easier.
Prepare the Arduino IDE
- Install the
U8gliblibrary - Add the Sanguino board
- Open Arduino preferences
- Add this to the “Additional Boards Manager URLs” https://raw.githubusercontent.com/Lauszus/Sanguino/master/package_lauszus_sanguino_index.json
- Go to board manager and add the Sanguino board
Make the Arduino an ISP
- Open the Arduino ISP example sketch
- Plug in the Arduino Uno
- Tools –> select the board
- Select Arduino Uno as the board and the correct port
- Upload to the Arduino
Connect the Arduino to the Ender 3
| Ender 3 | Arduino Uno |
|---|---|
| 5V | 5V |
| GND | GND |
| MISO | MISO |
| MOSI | MOSI |
| SCK | SCK |
| RESET | 10 |
Burn bootloader
Select the following:
- Tools –> Boards –> Sanguino
- Tools –> Processor –> Atmega 1284 or Atmega 1284p (16 MHz)
- Tools –> Programmer –> Arduino as ISP
- Tools –> Burn bootlader
The Ender 3 now has a bootloader! This shouldn’t have to be done again.
Upload the new firmware
The Marlin firmware will be used. There are many default configs available on their Configurations GitHub. I used the CrealityV1 firmware for my Ender 3. Once the config files have been chosen, the Marlin Arduino file can be opened. My firmware is located here.
